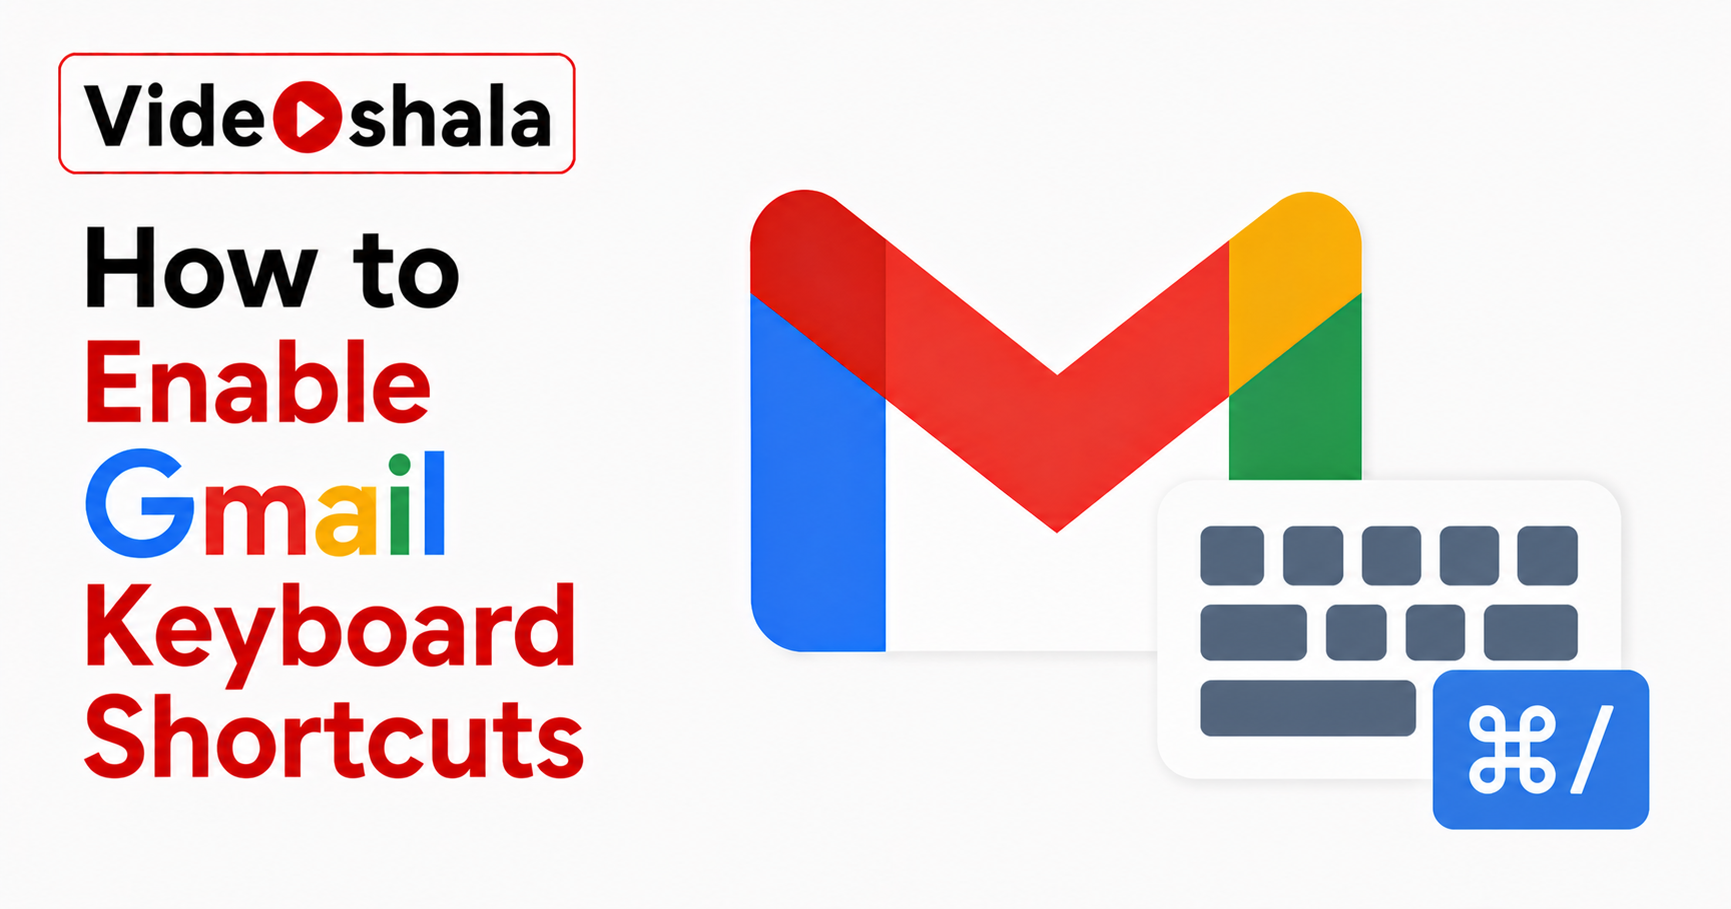
Plenty of people try a Gmail shortcut they read about, press the key, watch nothing happen and conclude Gmail does not have shortcuts. It does, more than 90 of them. They are simply switched off when you start. Until you turn them on, pressing a single letter like e for archive does nothing at all.
There is one quirk that adds to the confusion. Multi key combinations such as Ctrl and Enter to send a message work whether or not shortcuts are on, while the handy single letter keys do not. So some shortcuts appear to work and others do not, which makes the whole thing feel broken. Flip one setting and it all clicks into place. This guide turns them on, lists the keys actually worth learning and shows how to remap any you do not like.
Turn keyboard shortcuts on
This is the step that makes every single key shortcut work. It takes about fifteen seconds.
- Open Gmail, then click the Settings gear at the top right.
- Click See all settings and stay on the General tab.
- Scroll down to the Keyboard shortcuts row.
- Select Keyboard shortcuts on.
- Scroll to the bottom, then click Save Changes.
Gmail reloads and the shortcuts are live. The full, current list for your account is set out in Google's keyboard shortcuts help.
The keys worth learning first
You do not need all ninety. A dozen cover the actions you repeat all day. These are the ones to build muscle memory around.
| Key | What it does |
|---|---|
| c | Compose a new email. Use d to compose in a new tab. |
| r / a / f | Reply, reply all, then forward the open message. |
| e | Archive the open or selected message. |
| # | Delete the open or selected message. |
| / | Jump to the search box. |
| j / k | Move to the next older message. Press k for the previous newer one. |
| x | Tick the checkbox to select a message for a bulk action. |
| z | Undo your last action, like an accidental archive. |
| Ctrl and Enter | Send the email you are writing. |
On a Mac, swap Ctrl for the Command key in any combination. The z key in particular is worth knowing, since it reverses a mis-click in a flash. It pairs neatly with our guide on recalling an email in Gmail for catching mistakes the moment they happen.
Jump around with go to sequences
A second set uses two keys in a row, starting with g for go to. Tap g, release, then tap the second key.
| Sequence | Where it takes you |
|---|---|
| g then i | Inbox |
| g then s | Starred |
| g then t | Sent |
| g then d | Drafts |
| g then b | Snoozed |
These move you between Gmail's main views without touching the sidebar. If you lean on snooze to manage your inbox, g then b drops you straight into your snoozed mail, which we cover in our guide on snoozing emails in Gmail.
The built in cheat sheet
You do not have to memorise a printed list. With shortcuts turned on, press the question mark key, which is Shift and the forward slash, anywhere in Gmail. A panel pops up showing every shortcut available on your account right now.
This overlay is the one list to trust. Shortcuts can differ slightly by keyboard layout or language. If you remap any keys, the printed guides online will no longer match. The in app panel always reflects your own setup, so reach for it whenever a key does not behave as you expected.
Remap keys you do not like
If a default key clashes with a habit or a browser shortcut, you can change it. This uses a second, separate setting, which is the part people miss. Turning shortcuts on does not let you remap them, you have to enable custom shortcuts as well.
- Open See all settings, then click the Advanced tab.
- Next to Custom keyboard shortcuts, click Enable.
- Click Save Changes. Gmail reloads.
- Open settings again, where a new Keyboard Shortcuts tab now appears.
- Type your preferred key next to any action, then save.
Try the defaults for a week before remapping, since they are standard across every guide and every other Gmail user, which makes help easier to follow. Remap only the one or two that genuinely get in your way.
How to build the habit
Knowing the keys and using them are different things. The trick is to start small rather than trying to learn the whole list at once. Pick three or four you will use constantly: c to compose, e to archive, r to reply and the forward slash to search. Force yourself to use only those for a week, hiding your mouse hand in your lap if it helps.
Once those feel automatic, add one new key every few days. Within a month the common actions become reflexes you no longer think about. The other pattern to learn early is select then act: press x to tick a message or several, then press a single key like e or the hash to act on the whole selection at once. That is what turns a slow scroll and click into a couple of taps.
A quick triage flow
The real payoff shows up when you process a full inbox without the mouse. Here is a flow that clears a morning's mail fast, once the keys are second nature.
Press g then i to land in the inbox. Use j to step down through messages one by one. For each one, decide in a second: press e to archive anything you have read and finished with, the hash to bin junk, then r to fire back a quick reply where one is needed. If something needs attention later but not now, star it with s or snooze it so it returns at a better time. Keep moving with j until the inbox is empty. The whole point is rhythm. Read, decide, press one key, move on, with no reaching for the trackpad between each message. Most people who stick with it for two weeks clear the inbox in a fraction of the old time, because the friction of reaching for the mouse is gone. If you ever blank on a key mid flow, press the question mark to pull up the panel, glance, then carry on without breaking stride.